How to set up a shared drive on Windows
In Windows environments, and if the computers are in the UMHNET domain, shared drives connect automatically. If any drive does not connect, you can do it manually. The screenshots in this article correspond to Windows 10, but it is done similarly in any other version of this operating system.
Detailed guide
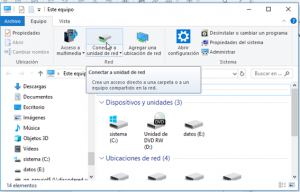
- Open the File Explorer by clicking on it in the taskbar.

- Once the File Explorer is open, click on the Map network drive option in the ribbon. If the ribbon is collapsed, you will need to click on the gray arrow that appears in the upper right corner.
- Select the drive letter for our drive and in folder enter the path of the shared drive to connect. If the shared drive corresponds to a group drive, the folder will be
\\discodered.umhnet.es/qy_xxx$wherexxxwill be the name of the folder. If we want the drive to reconnect automatically every time we start the computer, we will leave the Reconnect at sign-in option checked. If we want to connect with different credentials than those we have logged in with on the computer, we will check the Connect using different credentials option.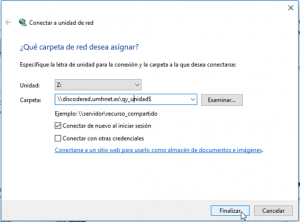
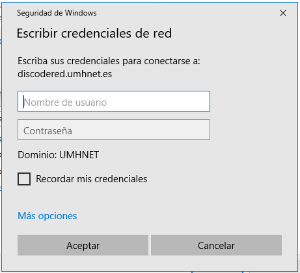
- Finally, click the finish button. The drive will connect and appear in the File Explorer, unless we have selected the Connect using different credentials option, in which case we will need to enter them.
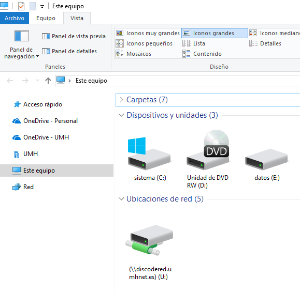
- The shared drive will appear in the File Explorer.