How to digitally sign a document with Autofirma
The signing procedure with Autofirma facilitates signing within the Administration but requires its installation on your device.
Detailed guide
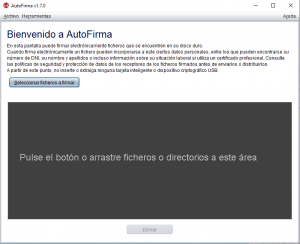
- Run the “AutoFirma” application and drag the file to be signed to the area or click on “Select files to sign”.
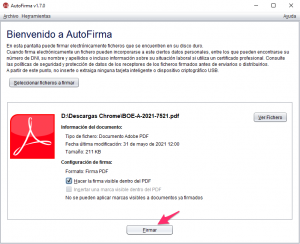
- Once the file to be signed is opened in “Signature Configuration”, check the box “Make the signature visible within the PDF” and click on “Sign”.
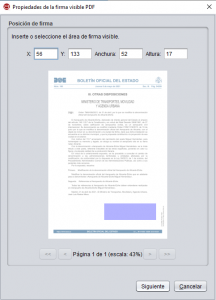
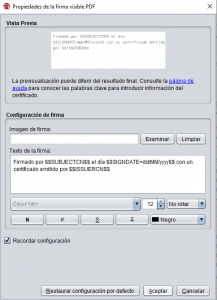
- Now an assistant will open to insert or select the visible signature area, where using the mouse we will draw a rectangle where we want to insert our visible signature and click on “Next” and on the next screen with the preview click on “Accept”.
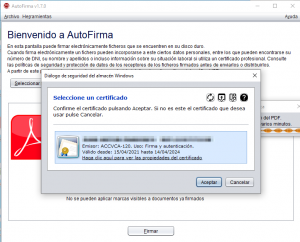
- Select the certificate by clicking on “Accept” if it is the correct one with which we want to sign.
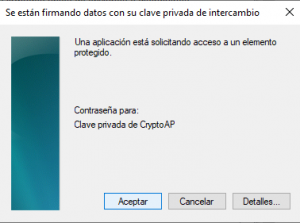
- It will ask for the password to access the certificate if we have protected it with a password and click on “Accept”.
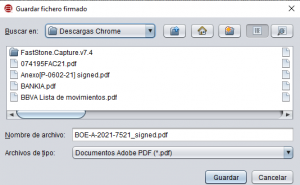
- The next thing it will ask for is the path where we want to save our signed document and click on “Save”.
- If the file signing process has been completed successfully, the following information window will appear and we can open the file to view it.
