How to install a printer from the centralized printing service on a macOS system
If you want to install a printer from the centralized printing service of the Universidad Miguel Hernández on a macOS device, follow these steps.
We will need to perform two steps: first, we will install the printer on our system, and then we will explain how to install the necessary management software for its use.
Detailed guide for installing the printer:
- The first thing we need to do is install the printer driver. To do this, locate the “Go” option in the top bar, and when the menu drops down, select “Connect to Server…“:

Note: If the “Go” option does not appear, remember that you need to have the “Finder” application open. ![]()
- Now, in the Server Address field, type “smb://eprinterw01.umhnet.es/Drivers/” and click Connect:
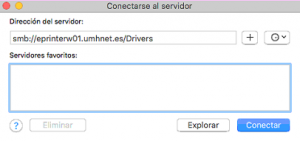
- You will be asked for your UMH credentials to open the requested resource:

- In the pop-up window, open the Konica Minolta folder, then bizhub c250i, and finally MacOS:
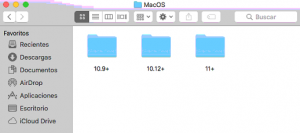
- Now double-click on the folder that contains the driver corresponding to your Operating System version, open the file you find in that folder to start the installer:
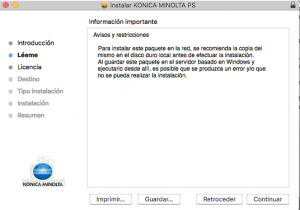
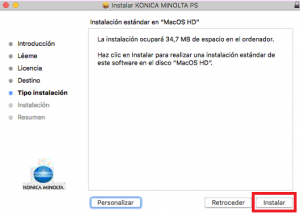
- Complete all the steps of the process.
- Locate the “System Preferences” application in the Dock. If it is not pinned to the Dock, you can search for it directly in your “Applications” or using Spotlight search:

- Now click on “Printers & Scanners“:

- Click the “+” button to start the process:
- In the panel of the pop-up window, select “IP“. Now you will need to complete the following information and click “Add“:
-
- Address: eprinterw01.umhnet.es
- Protocol: LPD (Line Printer Daemon)
- Queue: IMPRESION_SEGURA
- Name: IMPRESION_SEGURA
- Use: KONICA MINOLTA C250i PS

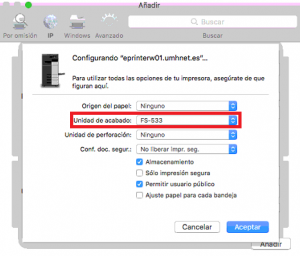
- The following window will appear. To use the stapling unit, select “FS-533” in Finishing Unit, and click OK:
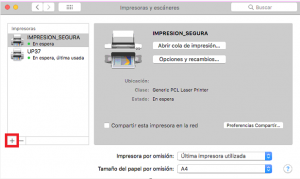
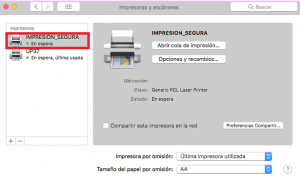
- We have now finished adding the “IMPRESION_SEGURA” printer to our system, and it will appear in our list of available printers:
It is important to note that it is also possible to add printers by their code. To do this, locate the code on a sticker found on the machine you want to configure. For example, if we wanted to add the UP37 printer, we would follow the same steps but modify the value that appears in Queue and Name:
-
- Queue: UP37
- Name: UP37
With this, we would have added the UP37 printer to our macOS: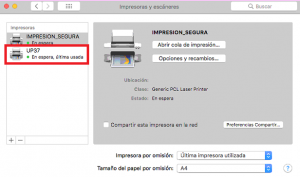
- With these steps, we have installed the printer on our device. Now we need to install the necessary management software for its use.
Detailed guide for installing the Papercut software:
Locate the “Go” option in the top bar, and when the menu drops down, select “Connect to Server…“: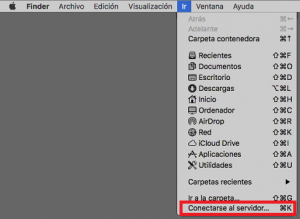
Note: If the “Go” option does not appear, remember that you need to have the “Finder” application open.
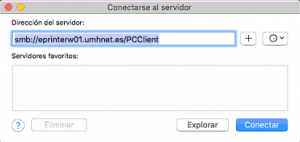
- Now, in the Server Address field, type “smb://eprinterw01.umhnet.es/PCClient” and click Connect:
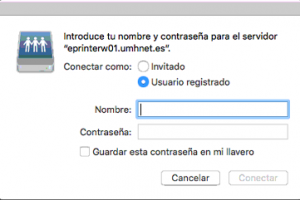
- You will be asked for your UMH credentials to open the requested resource:
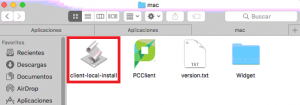
- In the pop-up window, open the mac folder:
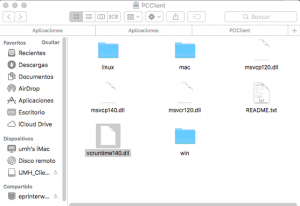
- Now double-click on the “client-local-install” application to install everything necessary:
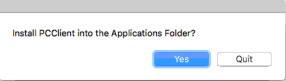
- When prompted, click “Yes“. The process may take some time to complete:
- When the process is complete, you will see a new icon in your top bar, and you will need to authenticate again in the service:
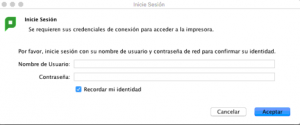
Important: Enter the username without @umh.es
- Once this process is complete, you can use the printers from the centralized printing service on your device.